As promised in
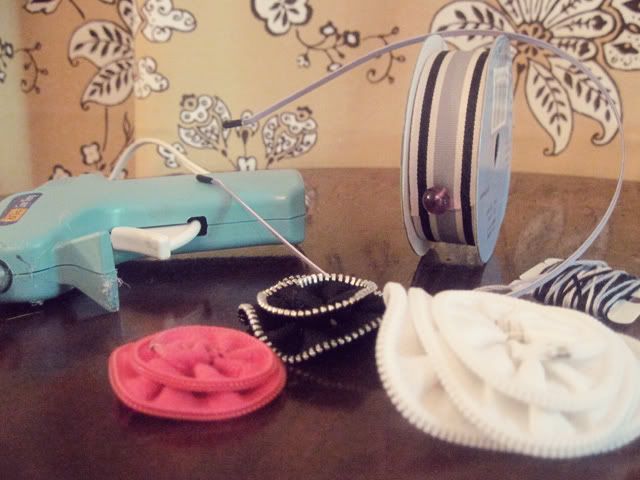
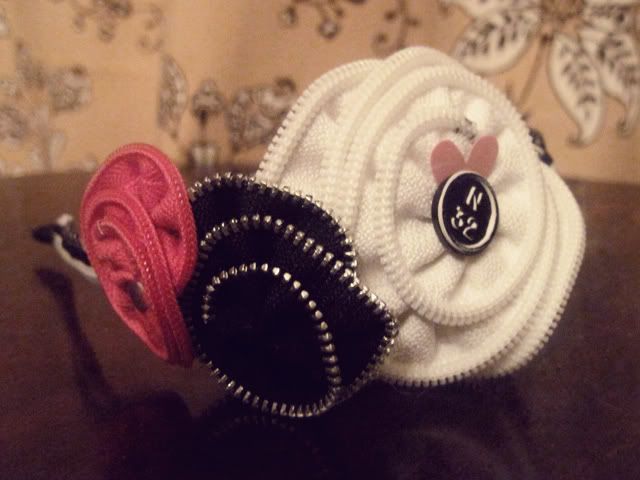
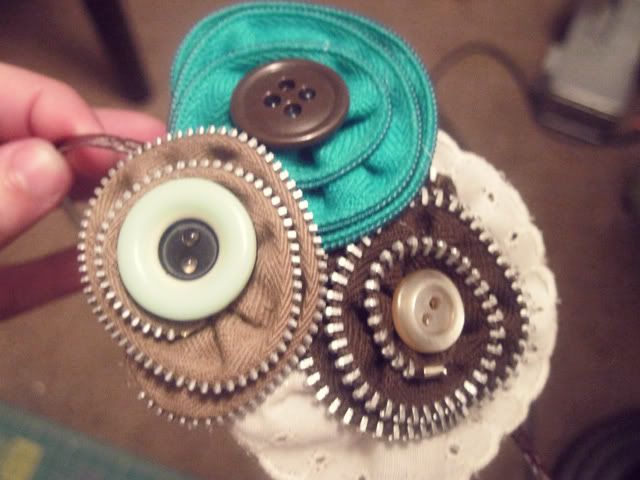
this post, I have made a few zipper rosettes and taken a ton of pictures. This post will explain how to make the individual flowers, and my next post will tell you how to out it all together to make a headband. I saw an adorable rendition of this headband
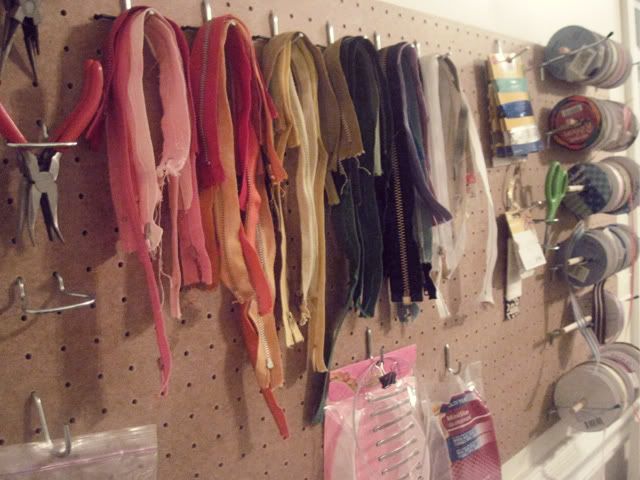
by Taza, and I was inspired! I just so happen to have a ton of zippers from my Nana, many vintage.
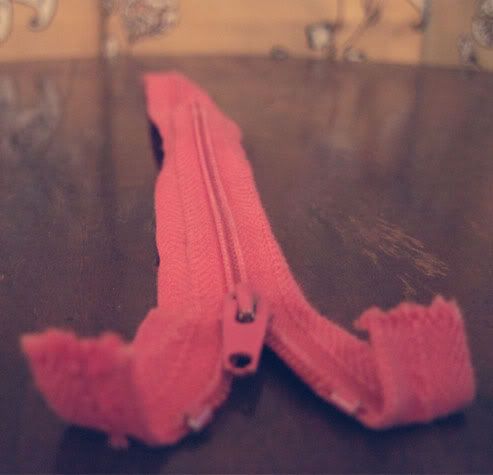
When shopping for zippers for the rosette you should go with various lengths. You should also look for zippers made out as natural of fibers as possible. The ones with real twill sides definitely work the best but we can work with anything. I also had some with exposed metal teeth and these come out with so much texture. Anyways after you have selected your zipper it is time to deconstruct.
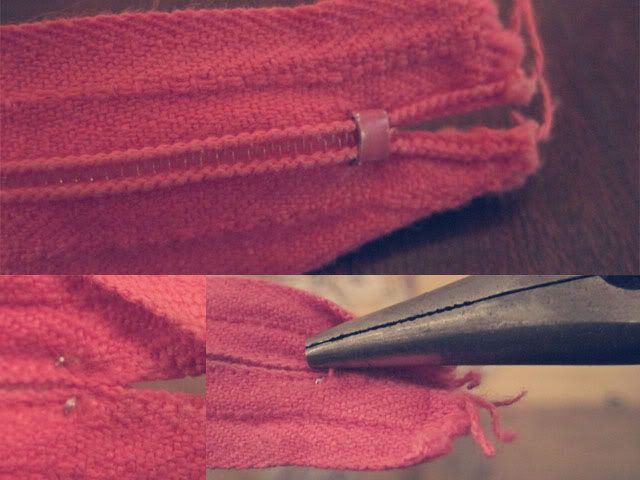
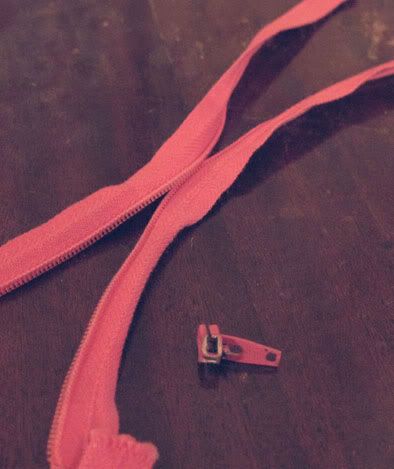
You have 2 choices, cut off the bottom of the sipper or remove this little metal piece with pliers. I typically try to do this because it makes for a more finished end and gives you more length to work with.
Now you have your zipper in 3 pieces. (I am saving the little metal doo-dads for another project)
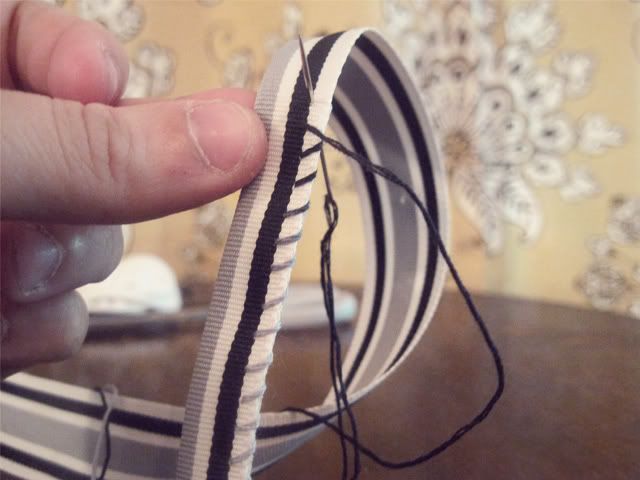
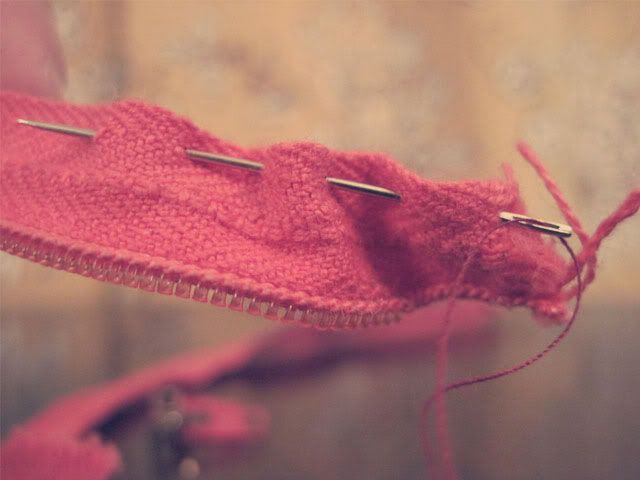
Next you plan out which end of the zipper is going to be the middle of your flower. I like to use the end that has the prettiest metal piece as the center of the flower. Tie a know at the end of your thread, I like to double up my thread for this type of stuff. Start at the end that will be on the outside and do a running stitch (up down up down) until you reach what will be the center of the flower. Keep the stitches pretty close to the non teeth edge. These stitches do not have to be perfect!
When you get to the end that will be the center do just one stitch towards the zipper part. This will help the flower look more finished.
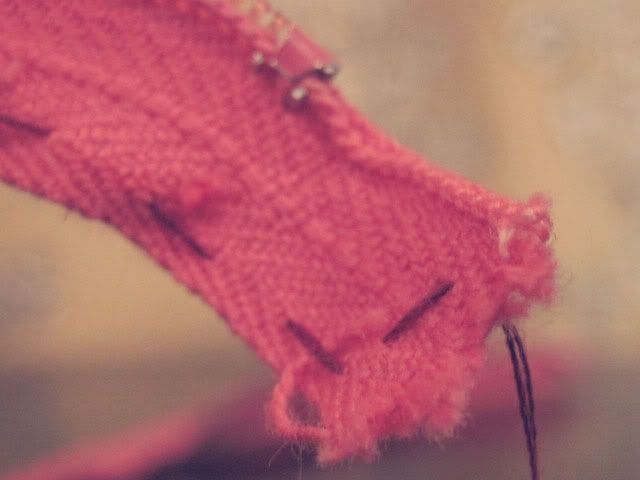
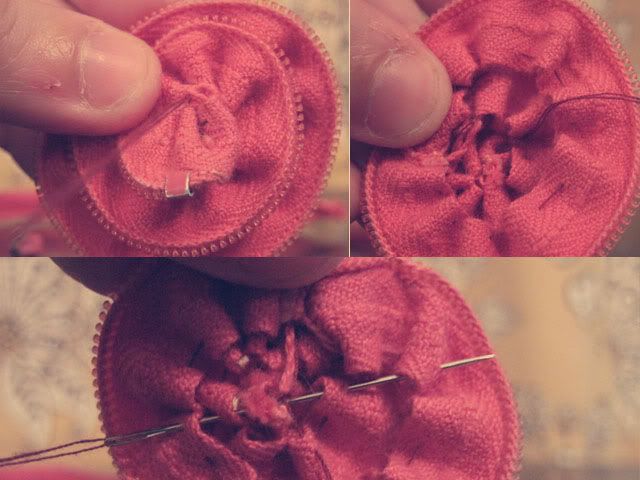
Next, pull the thread and push the zipper down towards the knot. This is where practice helps. You don't want to have the zipper completely curly but at the same time you don't want it too straight. The more slack you have the flatter your flower will sit. The tighter the thread the more funky the flower will look but it will be harder to put together.After you get the tension you want, tie a know but do not cut your thread.
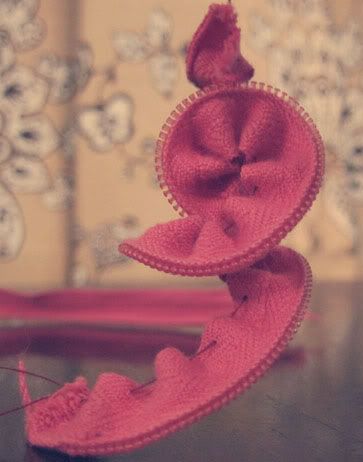
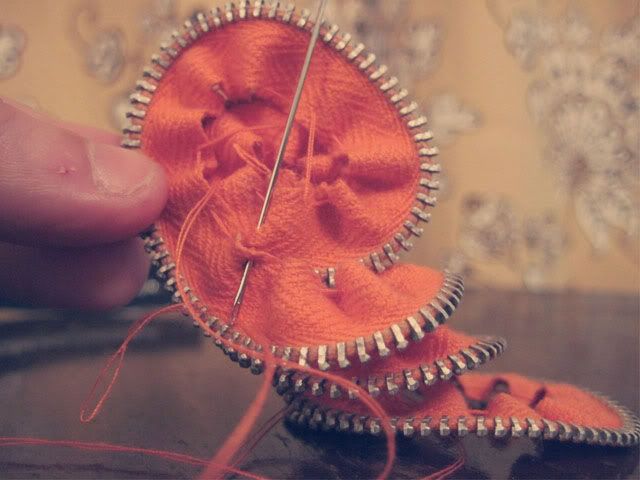
If you are using a shorter zipper (less than 10 inches or so) just hold the center and wind your flower up the way you want it to look. Make sure your needle is on the bottom side, then make a few stitches that span the whole radius of the rosette and pick up a piece of each layer. I would do this two or three times in different directions.
If you are using a longer zipper you just start at the center and go around one layer at a time. As you go around make a stitch here or there that tacks the new layer in place on the old layer. With longer zippers, it is important that you push the zipper material up towards where you are working, or you will get to the last 3 inches of the zipper and it will be a super curly mess. you want the ruffles to be as evenly spaced as possible.
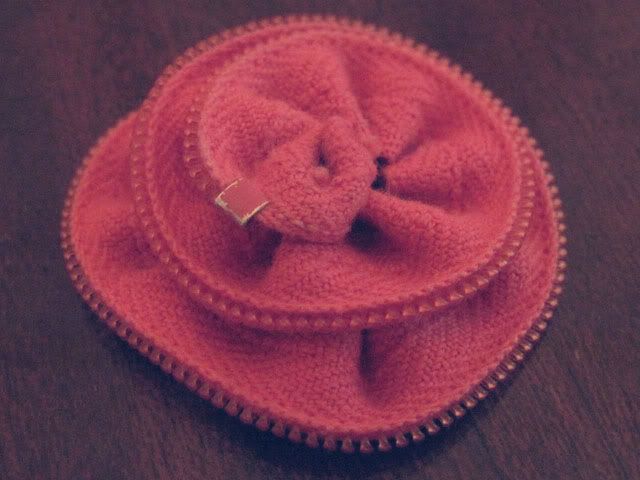
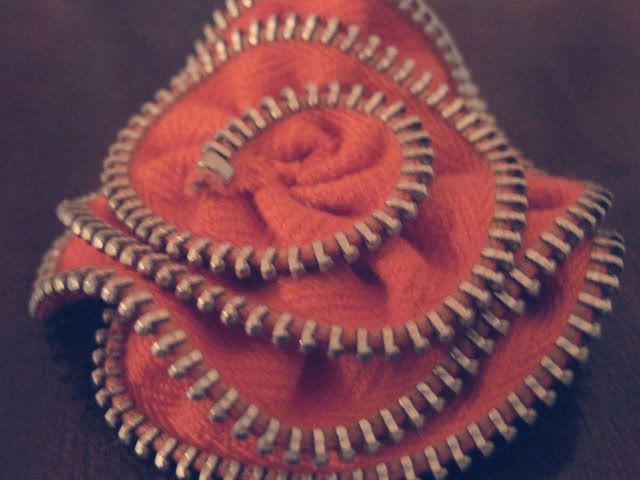
Play around with both tension and irregularity. I think they look better the less round they are.
If you have any questions just shoot me a comment!