
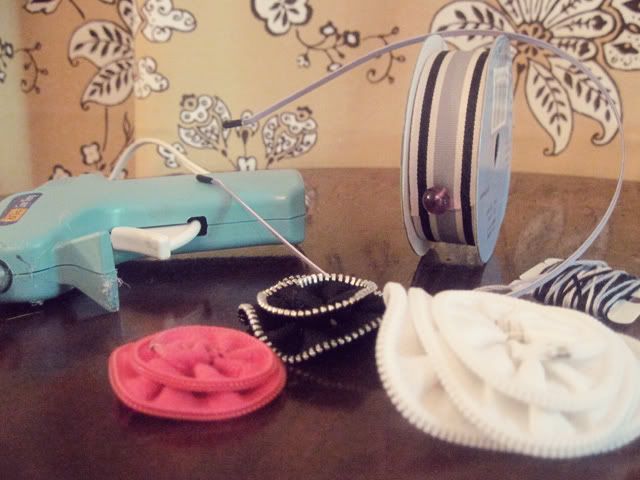
Now it is on to the actual assembling of the headband. You do have some options as far as the headband base. At a craft store you can find "blank" headbands in all sorts of widths. I like these thin metal ones that I found at a grocery store of all places. The nice part about these is that you can leave them plain so the band blends in more so the headband looks like one of those little hats. Here is the basics of what you need:
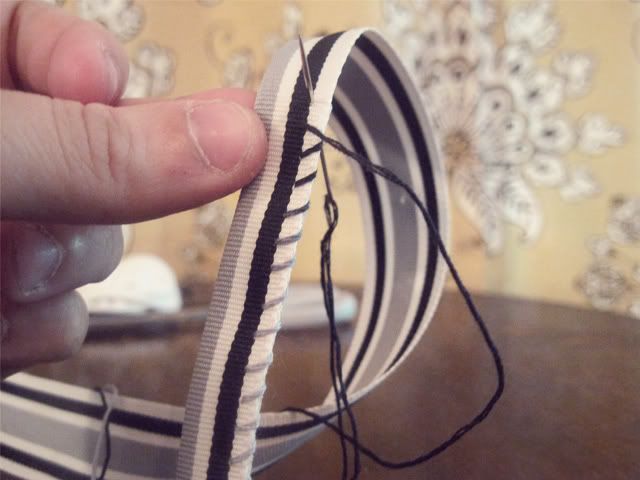
For this particular headband I used some wide ribbon and folded it in 1/2. I then stitched up the side of the ribbon to form a pocket.
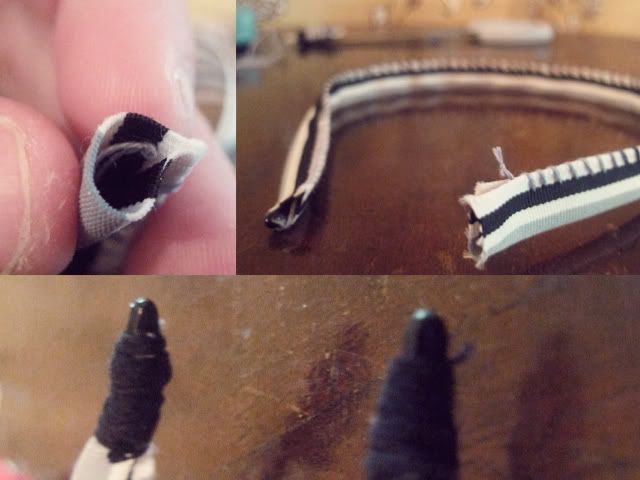
I slid the headband into the pocket. To finish off the ends I wrapped embroidery floss around the bottom very tightly.
All that is left is to glue the flowers on the headband using a little hot glue. There are no hard or fast rules on this!
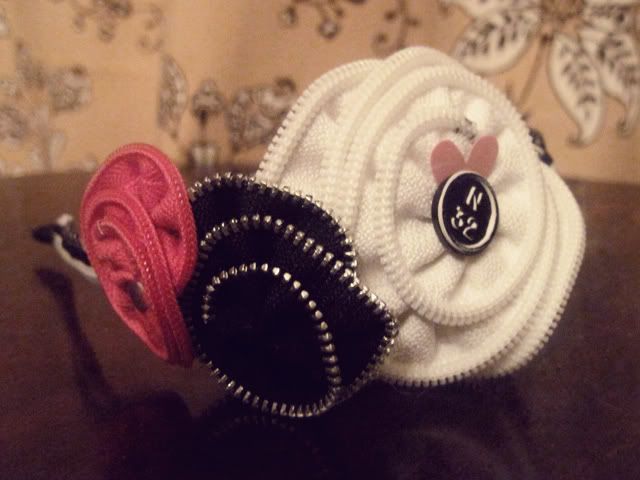
As far as toppings go, use anything you have stashed away. On this headband I used a typerwritte key. Here are some other items that work well:

On the original headband, I used thin ribbon and I wrapped it around in a spiral. I put a dot of glue periodically to help the ribbon stay in place.

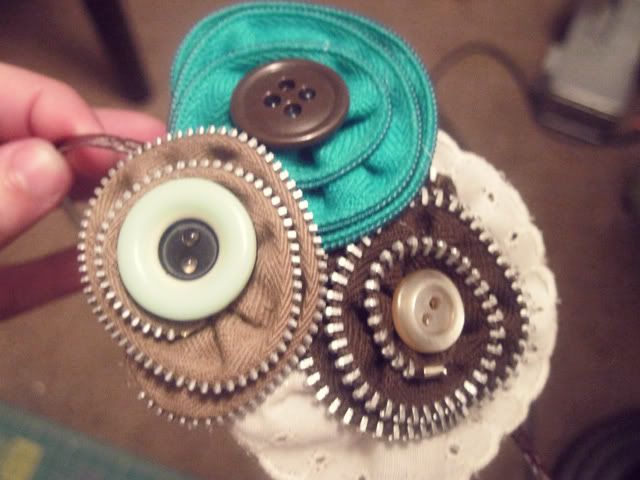
Here is an example of a teal and brown headband I made using buttons and trim. I left the headband plain except for some alcohol ink to turn it brown.
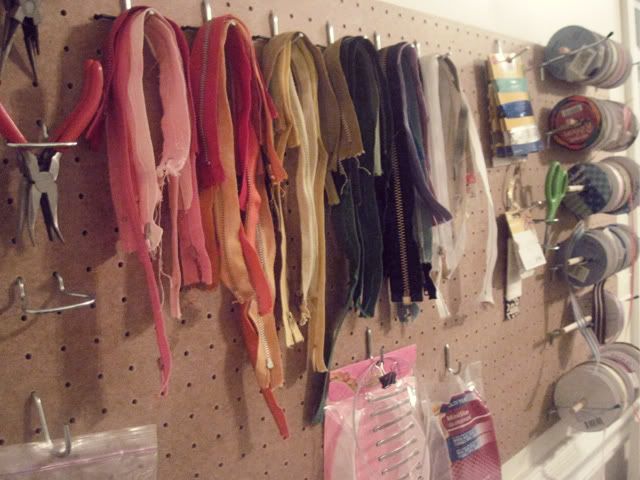
I think this is becoming an addiction! I did get my supplies organized last night. The sight of this just makes me smile!
As always any questions, shoot me a comment!

No comments:
Post a Comment